Using E2184 Copier On MacOS
Using The E2184 Copier in Mac Devices
Installing the Printer Drivers
In order to use the copier in the main office, you first need to install the drivers associated with the printer.
To download the drivers go here: https://www.konicaminolta.com.au/support/technical-support/drivers
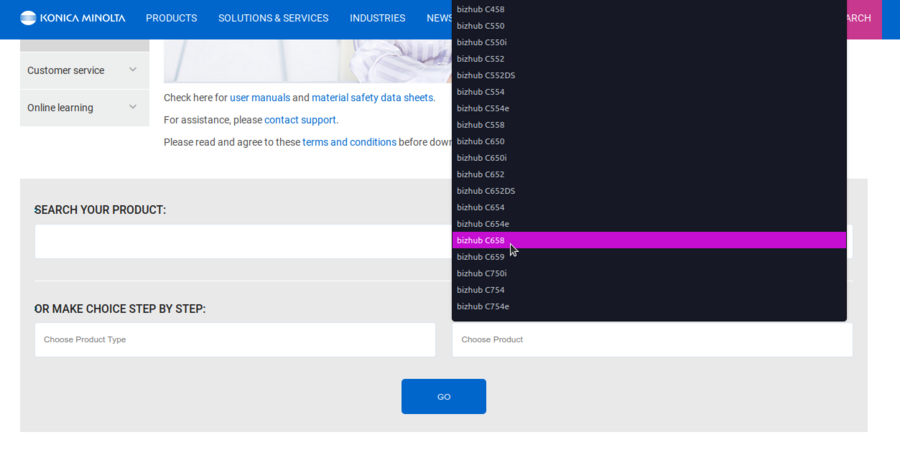
On "Choose Product" drop down menu, choose "bizhub C658"
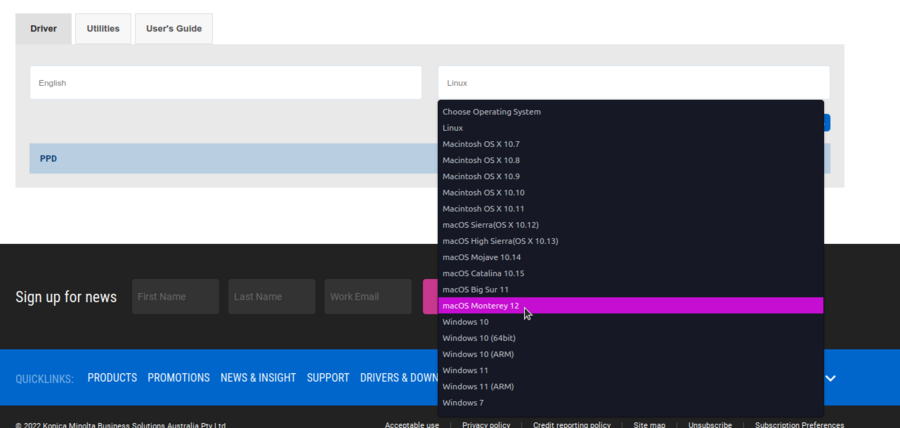
On Choose Operating System Drop drown, choose the appropriate MacOS Version. For example, "MacOS Monterey 12". You should find your MacOS release by clicking on the apple icon on the very top left of your screen and selecting About This Mac.
Expand the 'Printer Driver' and Click Download
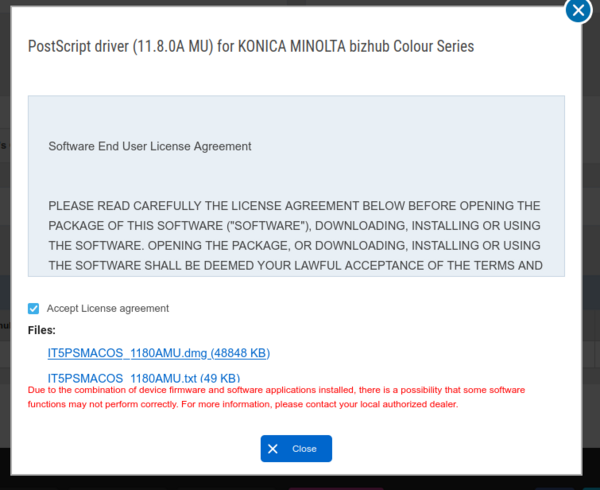
Agree on the terms and download the .dmg file.
To install:
Double Click the dmg file, it will mount it and you will see it mounted in the desktop.
Open the mount, and run the .pkg file. This should be a straightforward process.
Once you are done, you should be ready to add the printer.
Adding The Printer
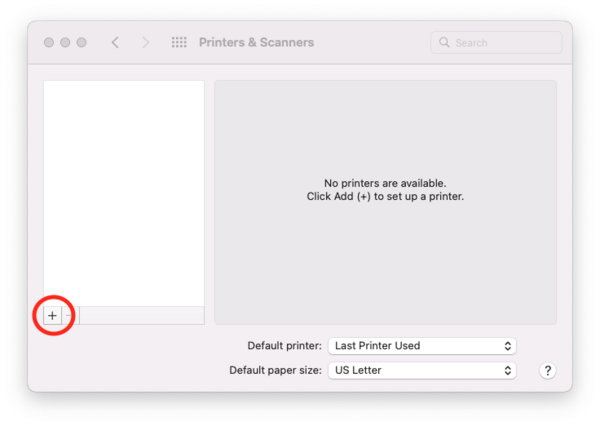
To add the printer, open the system preferences and select printers.
Click the + icon on the left side of the window.
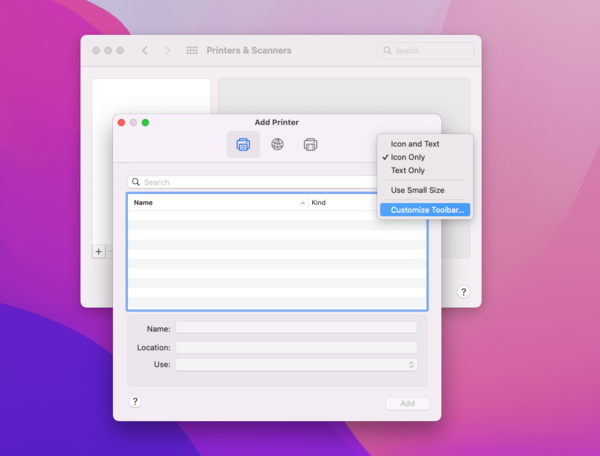
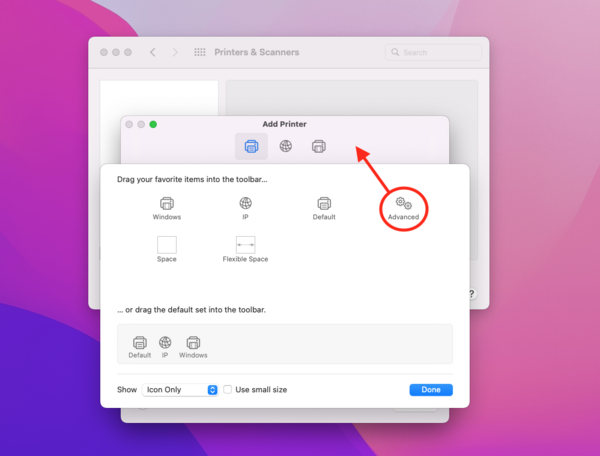
Once you have the window open, click on the cog icon. If you don't find the icon, right click or control + click on the window top border and click customize.
Drag and drop the Advanced Settings icon to the existing icons.
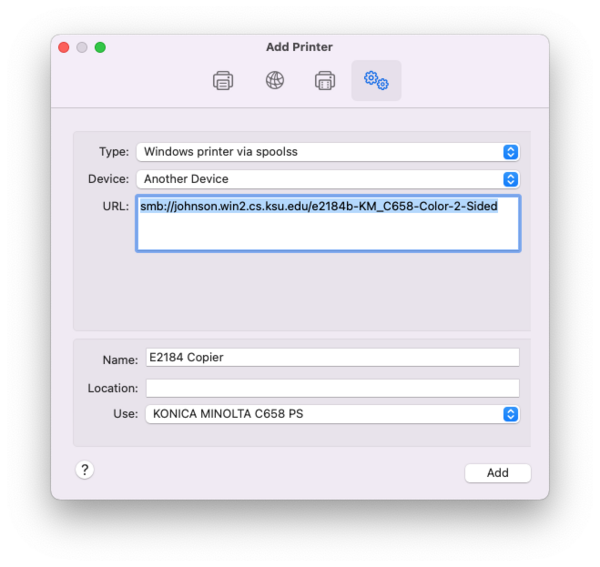
Once you selected the newly added 'Advanced' option, make sure you have the following:
- Type: Windows printer via spoolss
- Device: Another Device
- URL:
smb://johnson.win2.cs.ksu.edu/e2184b-KM_C658-Color-2-Sided - Name: Your Preferred Name
- Location: Blank / Your Preferred Location
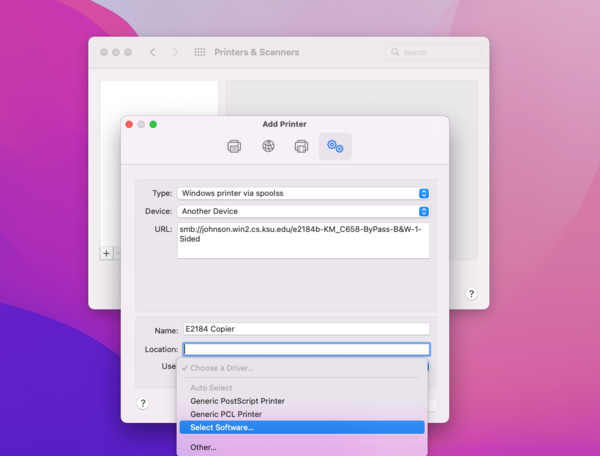
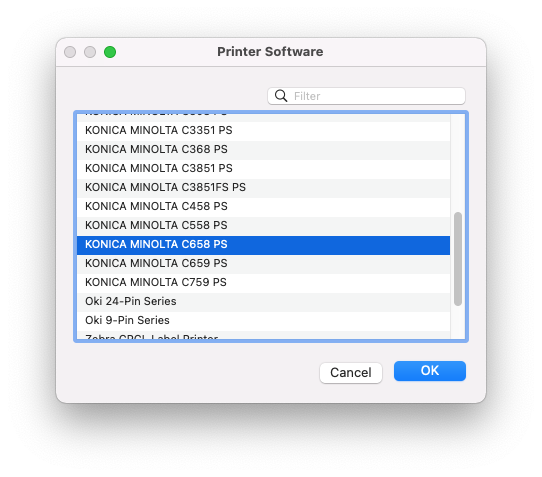
Under Use: , select 'Select Software...' and select "KONICA MINOLTA C658 PS"
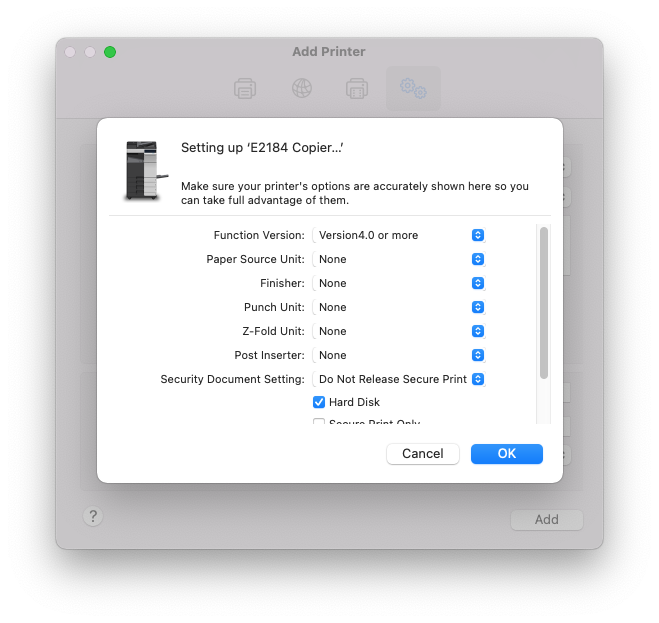
Click OK on the next window
Using The Printer
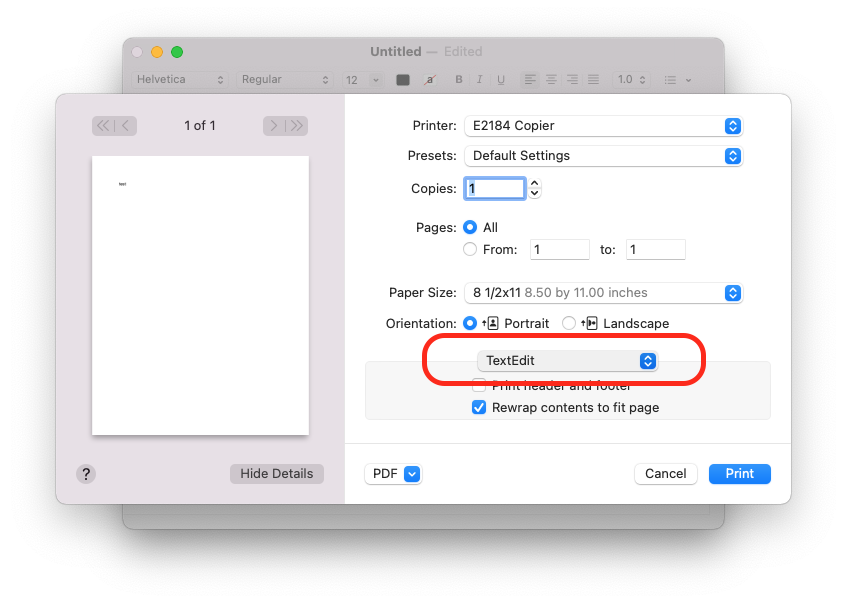
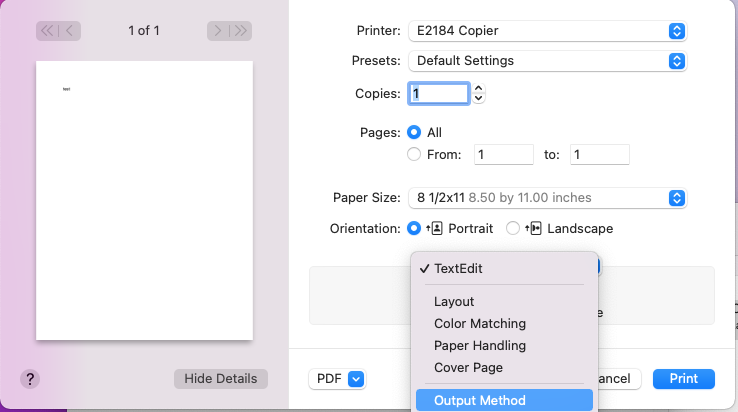
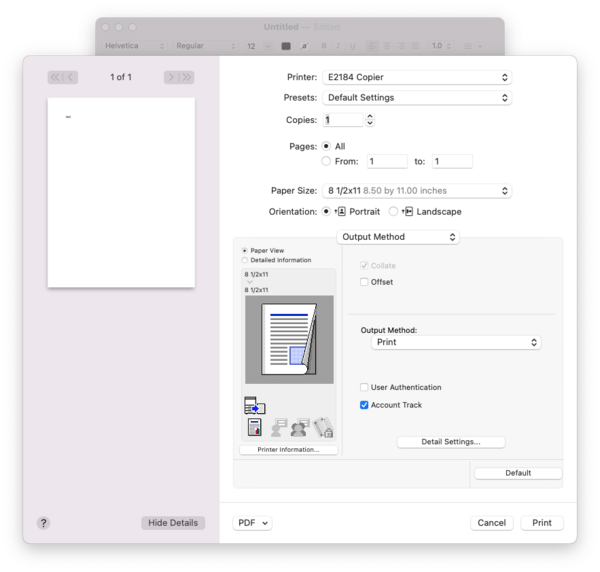
When you print, change the printing preference to Output Method shown in the image below. If you don't see this option, click show details on the bottom left side
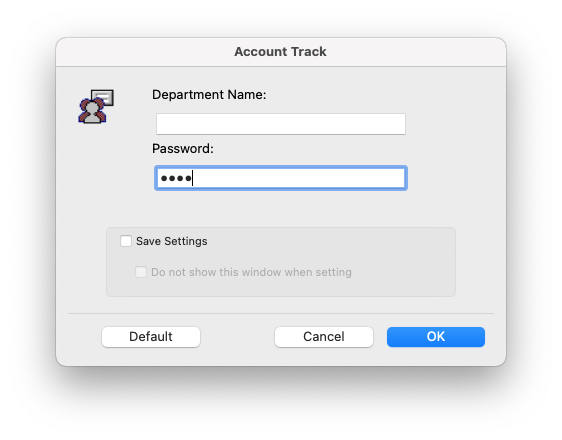
Check the Account Track option and enter your passcode for the printer. Leave the Department Name Empty
You should now be able to print from the CS Office Printer.
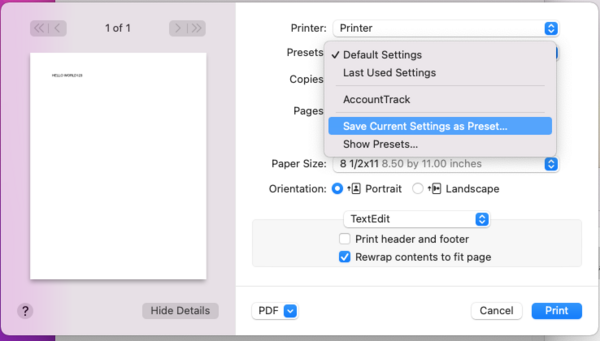
In order to save the passcode and your printer preferences, open the `Presets:` drop down menu and select `Save Current Settings as Preset...` and give it your preferred name
